Septic Tank Installation Guide: From Permit to Final Inspection


Septic Tank Installation: The Complete Process
Installing a septic tank is one of the most regulated residential construction projects you can undertake. Every step — from initial soil testing to final inspection — involves permits, inspections, and compliance with health department rules. This guide walks you through the entire process so you know what to expect, what it costs, and how to avoid the problems that delay projects and add expense.
Phase 1: Site Evaluation (2-4 Weeks)
Soil Percolation Test
Before you can design a septic system, you need to know how fast water drains through your soil. A licensed soil evaluator digs test pits, describes the soil layers, and conducts timed percolation tests. The perc rate determines the size and type of drain field your system needs. Cost: $300-1,000 depending on your area and the number of test holes required.
System Design
Based on the perc test results, a licensed septic designer creates the system layout: tank size, tank location, drain field size, pipe routing, and minimum setback distances from wells, property lines, structures, and waterways. The design must be submitted to the county health department for approval before any installation can begin. Cost: $500-2,000 for the design and permit.
Phase 2: Permit and Approval (1-4 Weeks)
The health department reviews the system design, verifies setback distances, and confirms the soil test results. They may require modifications to the design before issuing the installation permit. Do not purchase tanks or schedule excavation until you have the permit in hand — design changes during review can change the tank size, type, or location.
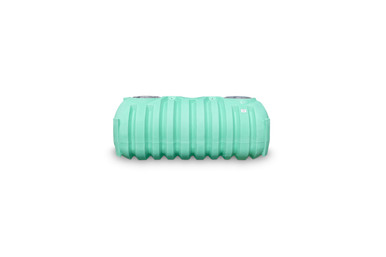
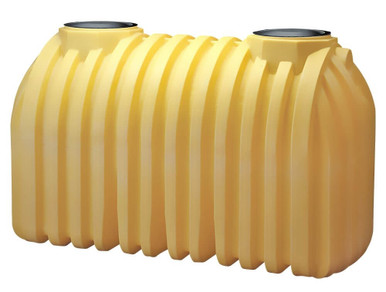
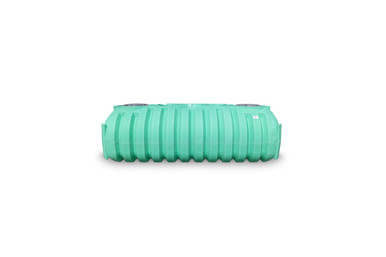
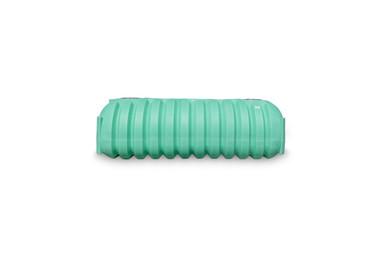
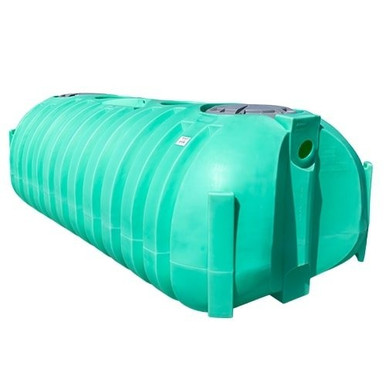
Phase 3: Tank Selection
What to Look For
- IAPMO certification: Required in most jurisdictions. Confirms the tank meets structural and capacity standards.
- Correct capacity: Determined by the system design based on number of bedrooms and daily flow estimate.
- Single vs. two-compartment: Your design specifies which type. Two-compartment tanks provide better treatment and are required by many modern codes.
- Inlet/outlet configuration: Match the tank's plumbing to your system layout. Loose plumbing allows field adjustment. Pre-plumbed saves installation time.
- Low-profile vs. standard: Low-profile tanks require less excavation depth, which is significant in rocky soil or high water table areas.
Phase 4: Installation (1-3 Days)
Excavation
The installer excavates the tank pit, pipe trenches, and drain field area according to the approved design. Tank pit depth must accommodate the tank plus a 6-inch bed of clean sand or pea gravel under the tank. The pit must be at least 12 inches wider than the tank on all sides for backfill access.
Tank Placement
The tank is lowered into the pit and leveled on the gravel bed. Polyethylene tanks must be handled carefully — do not drop them or drag them across rough surfaces. The tank must be perfectly level for proper flow between compartments (two-compartment tanks) and between the tank and the drain field.
Plumbing
Connect the inlet pipe (from the house), the outlet pipe (to the drain field), and any risers or access ports. All connections must be watertight. The installer fills the tank with water during backfilling to prevent the empty tank from floating in high groundwater conditions and to equalize pressure against the backfill material.
Backfill
Backfill with clean, granular material in 12-inch lifts, compacted between lifts. Do NOT backfill with large rocks, construction debris, or heavy clay — point loads from rocks can damage the tank, and heavy clay creates uneven pressure. Never drive heavy equipment over the tank area during or after backfilling.
Phase 5: Inspection and Approval
The health department inspector verifies the installation matches the approved design, checks all connections, measures depths and distances, and confirms the tank and drain field are properly constructed. The installation must pass inspection before the pit is fully backfilled and before the system is put into service.
Costs Overview
| Component | Typical Cost Range |
|---|---|
| Soil test and evaluation | $300 - $1,000 |
| System design and permit | $500 - $2,000 |
| Septic tank (poly, installed) | $1,500 - $4,000 |
| Drain field construction | $2,000 - $10,000 |
| Pipe, fittings, risers | $200 - $600 |
| Excavation and backfill | $1,000 - $3,000 |
| Total (standard system) | $5,500 - $20,600 |
Maintenance After Installation
A properly installed septic system needs minimal maintenance: pump the tank every 3-5 years (more frequently for heavy use), avoid flushing non-biodegradable materials, and never drive over the drain field. Annual inspection of the tank and risers catches problems before they become expensive repairs.
Shopping for septic tanks? Browse our IAPMO-certified selection or call (866) 418-1777 for sizing and specification help.
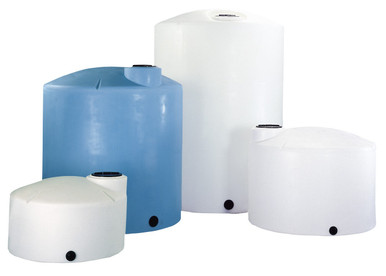
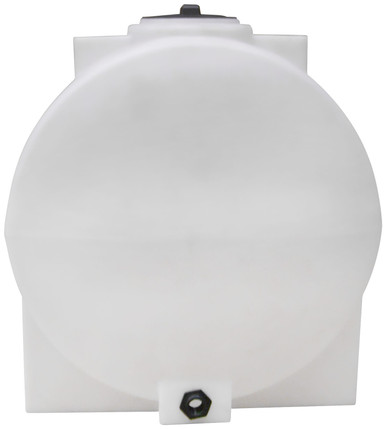
Understanding Polyethylene Tank Construction
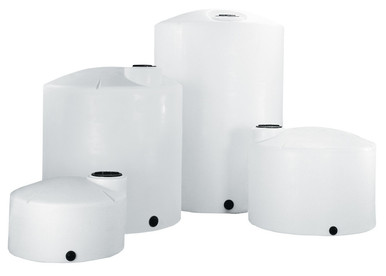
Every polyethylene tank in our catalog is manufactured through rotational molding — a process that creates a seamless, one-piece structure from powdered HDPE resin. The mold rotates on two axes simultaneously while heated, distributing molten resin evenly across all interior surfaces. The result is a tank with no seams, no weld lines, and no potential leak points. This seamless construction is the primary advantage of rotomolded tanks over welded or fabricated alternatives — joints are where tanks fail, and rotomolded tanks have no joints.
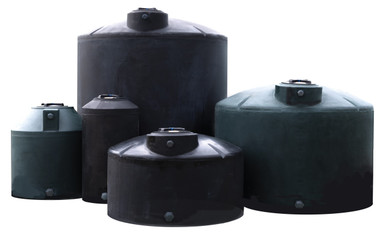
The resin itself is not generic plastic. It is a specially formulated compound that includes UV stabilizers (to prevent sun degradation), antioxidants (to prevent thermal degradation during processing and service), and pigments. For potable water applications, the resin meets FDA 21 CFR 177.1520 requirements for food-contact materials. These additives are compounded directly into the resin — not applied as surface coatings — which means the protection extends through the full wall thickness and lasts the life of the tank.
Why Buy from OneSource Plastics?
OneSource Plastics is not just another tank reseller. We are a specialized industrial tank dealer with deep product knowledge, competitive pricing from direct manufacturer relationships, and a commitment to helping you select the right tank for your specific application. Our team handles tank inquiries every day — we know the product lines, the specifications, the common pitfalls, and the solutions.
When you call us, you talk to someone who knows the difference between a 1.5 SG and a 1.9 SG tank, who can explain why a cone bottom is worth the extra cost for your mixing application, and who can tell you exactly what foundation your 2,500-gallon tank needs on your specific soil type. We don't just process orders — we solve liquid storage problems.
Every tank we sell ships with the full manufacturer warranty. We handle freight logistics to all 50 states, and we can coordinate delivery equipment for sites with challenging access. If something goes wrong — a shipping damage claim, a warranty issue, a specification question — we handle it directly. One call to (866) 418-1777 connects you to a real person who can actually help.
Shop Our Most Popular Tanks


Recommended Tanks for This Guide
Live pricing, updated automatically · estimate freight to your ZIP.